
Start with the image’s actual position
Find out how wide the photo will appear in your site or editor. A small illustration and a large cover image have different needs. Check any constraints set by your publishing tool as well.
For example, a 1,600-pixel long edge can be a starting point to compare for a large page photo. It is not a universal requirement: the layout, displays and image content also matter.
Set dimensions and file size
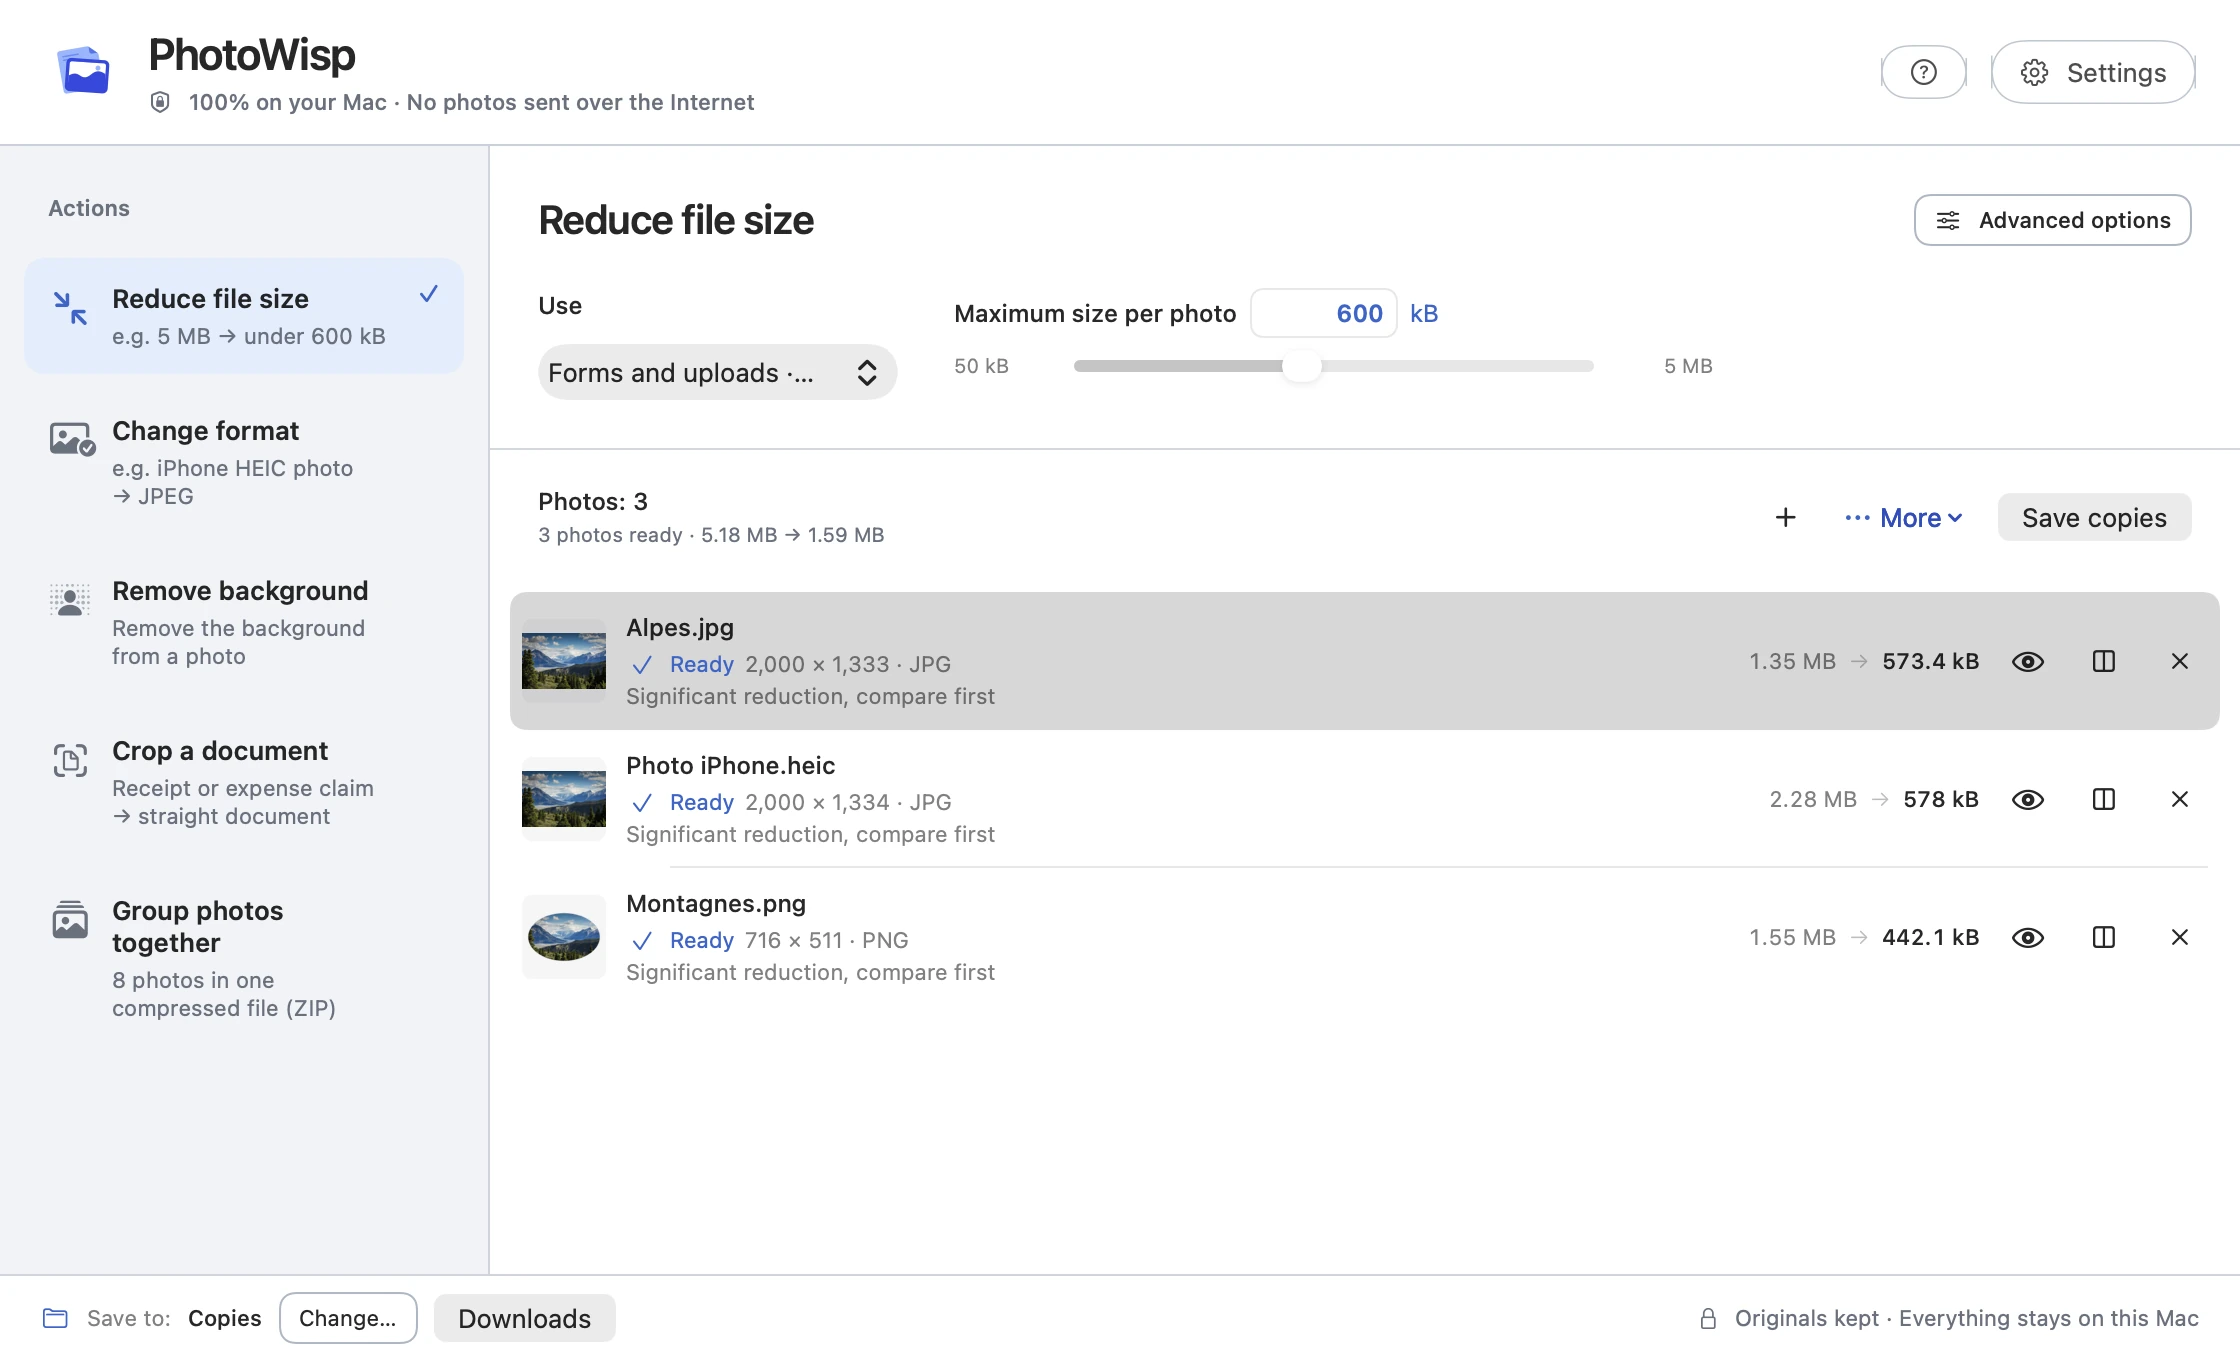
The kB or MB limit applies to each photo individually. The maximum long edge controls pixel dimensions while preserving proportions; small images are not enlarged.
- Add the photos and choose Reduce file size.
- Set a per-photo target suitable for the page.
- In advanced options, limit the long edge if the source resolution is unnecessarily high.
- Prepare copies and check their actual file sizes and dimensions.
- Compare important details before saving.
Choose a format for the content
JPEG can be a practical format for sharing and publishing an opaque photograph. If the input is HEIC, make a JPEG copy and check its size too. For an image that needs to stay transparent, retain a PNG output suitable for its use.
PhotoWisp accepts JPEG, PNG and HEIC and prepares JPEG or PNG outputs depending on the workflow. It does not replace a tool for creating WebP or AVIF variants if your site requires them.
Check the published page
Insert the saved copies and review the page on a computer and a phone. Check detailed areas, the crop and your editor’s behaviour, since it may apply its own transformations.
PhotoWisp prepares files but does not publish them or configure image loading on your website. Alternative text, layout and publishing settings still need to be completed in your web tool.
Common questions
Is 600 kB suitable for every web image?
No. It is an example target to adapt to the image’s position and the detail required.
Does PhotoWisp publish straight to my blog?
No. Save the copies and import them into your usual publishing tool.